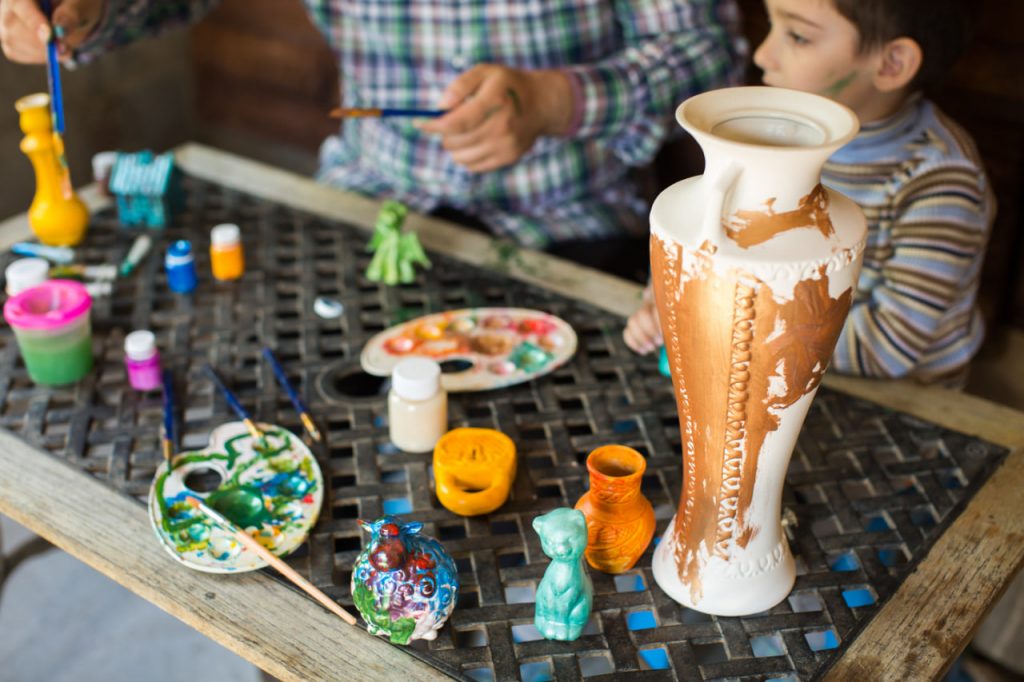
Studio Setup Tips: How to Create the Perfect Space for Modeling at Home
Creating art at home is both convenient and inspiring, but when it comes to decorative modeling, the right workspace can make all the difference. A well-organized and thoughtfully arranged studio supports your creativity, helps you stay productive, and makes the artistic process more enjoyable. Whether you’re working with clay, plaster, or polymer, designing a space that suits your materials, habits, and style will elevate your work and keep your focus sharp. Even if you only have a corner of a room to spare, you can build a functional and beautiful home modeling studio with the right approach.
Choose the Right Location
The first step in setting up your home studio is identifying a space where you can work comfortably and without distractions. Ideally, this space should have natural light, good ventilation, and access to water if you’re working with clay or plaster. A spare room, enclosed balcony, garage, or even a partitioned corner of a living area can serve as a great foundation.
If space is limited, consider modular furniture and vertical storage solutions that allow you to transform your workspace when needed. The goal is to have a designated area that feels like your creative zone, even if it’s compact. Consistency in where you work builds productive habits and reduces setup time.
Invest in a Sturdy Work Surface
A solid, flat work surface is essential for modeling. Depending on the materials you use, this could be a wide desk, a workbench, or a large table with a washable or replaceable surface. For clay and plaster work, choose a surface that can withstand moisture and pressure, such as a sealed wooden table or a slab of plastic laminate.
If you work with smaller projects, consider adding a rotating turntable or lazy Susan to give you easier access to all sides of your piece. It’s also helpful to protect the tabletop with a silicone mat or plastic sheet to catch spills and make cleanup easier.
Organize Your Tools and Materials
A clutter-free workspace boosts your efficiency and focus. Start by sorting your tools by function—cutting, shaping, texturing, smoothing, measuring—and store them in labeled containers or drawer units. Wall-mounted pegboards or magnetic strips are great for keeping frequently used tools visible and within reach.
Use stackable bins, drawers, or boxes for organizing modeling materials like clay blocks, bags of plaster, glazes, paints, and armature wire. Transparent storage helps you see your supplies at a glance. Keep heavier materials on lower shelves and delicate items higher up. A small cart or caddy with wheels can serve as a mobile tool station, especially useful if your workspace is shared with other household functions.
Consider Lighting and Ventilation
Good lighting is crucial for detail work in modeling. Whenever possible, take advantage of natural daylight by positioning your workspace near a window. Supplement it with adjustable LED task lamps or overhead lighting with daylight-balanced bulbs to reduce eye strain and ensure color accuracy.
Ventilation is especially important when working with materials that generate dust or fumes, such as plaster, glazes, and polymer clay. An open window with a small fan can provide sufficient airflow in many cases. For more serious work, especially with aerosols or solvents, a portable air purifier or extraction fan system may be necessary.
Add Comfortable Seating and Ergonomic Features
Modeling sessions can last hours, so it’s important to prioritize your physical comfort. Choose a chair that supports your back and allows you to sit upright at your work surface. The height of your table and chair should allow your arms to rest naturally without strain. If you prefer standing while working, consider an adjustable-height table or use risers to elevate your workspace.
Adding a cushioned floor mat underfoot can reduce fatigue during long sessions. Don’t forget to keep your tools within easy reach and avoid overextending or bending repeatedly by organizing your space thoughtfully.
Make Room for Drying and Storage
Finished and in-progress pieces need a safe place to dry or cure. Set up open shelving or trays where your projects can remain undisturbed while drying. Label each piece with the date it was started or set aside to help track its progress.
For pieces that require curing in an oven, especially polymer clay, have a dedicated toaster oven or small baking unit separate from food prep areas. Keep this equipment in a well-ventilated zone and monitor it while in use.
Also plan for storage of completed works. Use padded boxes, labeled bins, or display shelves to keep your creations safe, dust-free, and accessible.
Inspire Yourself with Visual Elements
Your creative space should reflect your artistic identity. Add inspiration boards with sketches, color palettes, materials, or photos of finished work. Hang up prints or art that moves you. Surrounding yourself with visual inspiration can help overcome creative blocks and keep your motivation high.
A mirror, sketchpad, and mood board can be useful additions for brainstorming or planning out complex pieces. Keeping a journal of project notes, ideas, and progress logs will also help you track growth and refine your techniques over time.
Keep It Clean and Maintain Tools
Cleanliness may not be exciting, but it’s essential. Set aside time at the end of each session to wipe down surfaces, wash tools, and put everything back in its place. Regularly clean brushes, scrapers, and knives to keep them in top condition. Sharp tools, clean hands, and a tidy area help you work faster and with fewer mistakes.
If you use wet materials like clay or plaster, having a small water bucket, sponges, and towels at the ready will save time and prevent messes. Never pour leftover plaster down the drain—instead, let it harden and dispose of it properly.

